In this article
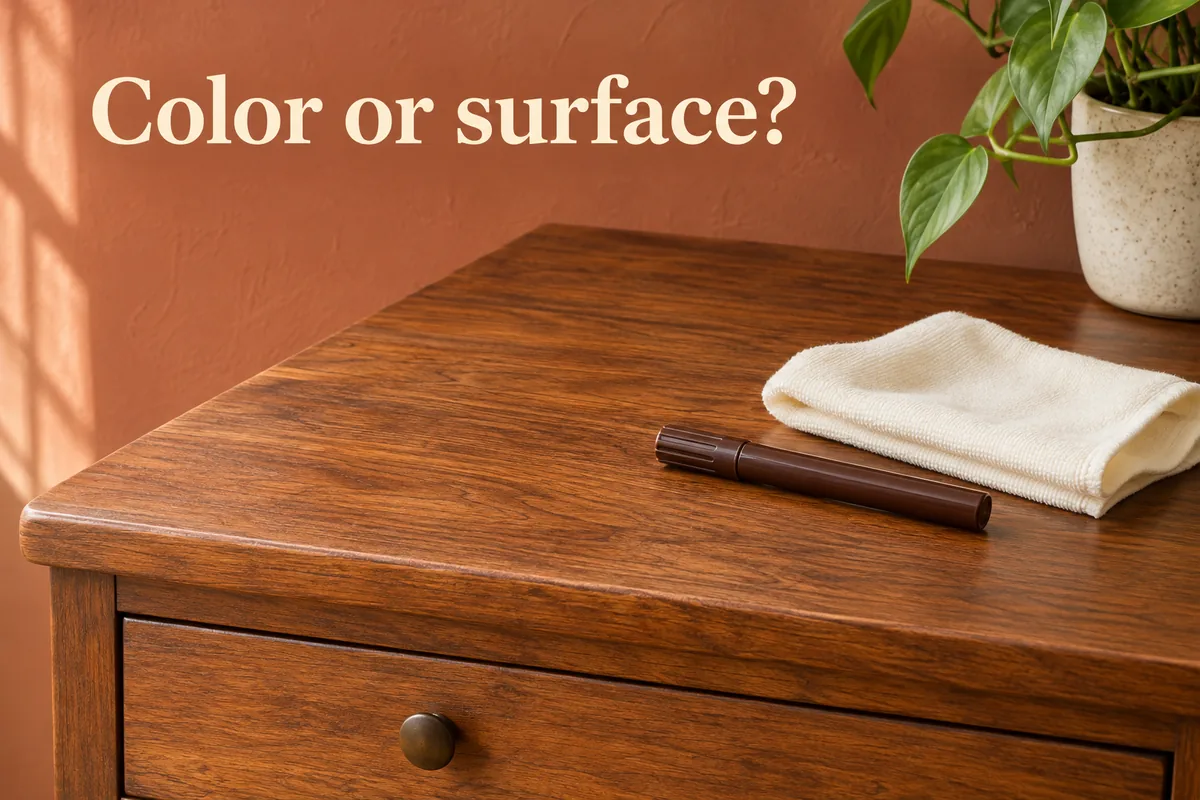
For a light scratch that only shows as a pale line, a color-matched touch-up marker can make it much less noticeable; test it somewhere hidden first. A scratch you can catch with a fingernail needs filler as well as color, and a dull or worn patch needs finish repair, not more color. Loose joints or lifting veneer are repair jobs, not touch-ups.
Look at the mark before choosing a repair
Photograph the area before applying anything. View it in ordinary room light and with light coming across the surface. Note whether it mainly looks lighter, has a different sheen, appears recessed, or sits beside lifting material. These observations help describe the problem; a photograph alone cannot establish the finish or the full depth of damage.
Remove loose dust only by a method suitable for the surface. If cleaning is needed, check the furniture's finish-care directions first. Avoid rubbing a fragile or flaking area just to see whether it improves. For everyday cleaning, the finish-aware furniture guide can help organize the first steps.
Find the maker's material and finish records if available. Solid wood, veneer and a printed wood-look surface need different repair planning. A wood-colored exterior does not tell you how much material is beneath it, and sanding is not a useful identification test.
Separate color, texture, finish and structure
| What you observe | What to establish before treating |
|---|---|
| A small contrasting line | Whether a compatible color touch-up meets the cosmetic goal |
| A change in sheen | Whether the issue is residue, surface wear or the finish itself |
| A recess, chip or missing material | Whether filling and finish repair are needed, and which materials are compatible |
| Lifting veneer, peeling finish or a loose joint | How the underlying damage should be assessed and repaired before cosmetic work |
These can overlap. A scratch may lose color and leave a groove, and darkening it won't level the surface or match the sheen. Decide what "fixed" means for this piece before you start.
If a chair leg or another support is loose, stop using the piece for that load until the issue is repaired. A cosmetic repair product should not be used as a reason to keep using unstable furniture. Describe the movement or looseness separately when asking for help.
Read what each repair material is intended to do
A repair kit can contain several different materials. Check each component's purpose and directions rather than treating the kit name as a method. Look for the permitted surface, whether it goes on finished or unfinished wood, the preparation needed, and any requirements for a later coating.
For example, one maker's repair-marker instructions describe hiding nicks and minor scratches by restoring color: test in an inconspicuous spot, add more coats to deepen the color, and wipe off excess. Its wood putty is non-hardening and goes in after staining and topcoating; it won't harden enough to sand.
So read each product's directions: some fillers are sanded and finished over, others are pressed in after finishing. Don't swap one product's method for another's.
Test the color on a comparable surface first
Color names and cap colors help narrow the choices, but the result on your furniture matters. The marker instructions above call for an inconspicuous color test, allow additional application to deepen the color, and specify removing excess pigment with a soft lint-free cloth as needed before complete drying. Follow the directions for the exact product you choose, including its timing.
Keep the test small and let it dry. Look at it in the room's usual light, from the angle people normally see it. If the color or sheen is off, stop and rethink before treating the visible scratch.
Work within the scratch and reassess
Once the product, surface and test result support a small color touch-up, prepare the area according to the label. Make sure any approved cleaning step is complete and the surface is ready for the product. Set out the required cloth and protect nearby surfaces as directed so you do not have to improvise halfway through.
- Read the application and safety directions before opening the product, including ventilation and handling of used cloths where specified.
- Apply only to the intended damaged area using the product's method. Avoid sweeping across a large surrounding area to disguise one small line.
- Handle excess and drying exactly as instructed. Do not reach for a household solvent or abrasive when the label does not establish that method for your finish.
- After drying, assess color, texture and sheen separately. Stop once the intended cosmetic improvement is achieved; additional passes should have a clear purpose.
Take an after photo in the same light as the first. A less noticeable mark may be a perfectly good result.
Get a repair plan when the problem goes beyond color
For a gouge, lifted edge or damaged coating, ask the furniture maker or a repair specialist what needs restoring and in what order. Explain whether the concern is appearance, cleanability, a catchable edge or structural movement. Include the construction records and photos rather than asking only which color pen to buy.
The Canadian Conservation Institute's care guidance for furniture finishes explains that original finishes can have historical, aesthetic and financial value. If a piece may be an antique, has a delicate original coating or carries particular personal value, consult an appropriate conservator before experimenting with color, sanding or stripping.
Do not assume that replacing color restores a protective coating, or that adding a clear product will blend with every existing finish. A compatible repair may require work on texture and sheen as well as color. Avoid spot sanding until the construction and finish-repair process are established; veneer and decorative surfaces leave little room for guesswork.
Keep the repair record and prevent repeated damage
For a widening crack or joint problem, use the separate guide to cracks in wood furniture to organize observations before a repair assessment. A color touch-up is useful when it matches the cosmetic job you have identified; the rest of the furniture still needs its own care and repair decisions.
Before you touch up
- Before photo, in normal light and with light across the surface
- Construction known: solid wood, veneer or printed wood-look
- The product's purpose: color only, filler, or finish repair
- A hidden test spot that matches the visible finish
- Ventilation and rag-disposal directions read
Common questions
Do furniture touch-up markers work?
For light scratches that mainly show as a color difference, yes: they can make the line much less visible. They don't fill depth or restore a worn finish.
How do I pick the right touch-up color?
Test on a hidden spot with the same finish. Start slightly lighter than you think; you can deepen color with another coat, but it's hard to lighten it.
Can you fix scratches on veneer?
Light color touch-ups, yes. Deep scratches through veneer are trickier because there's little wood to work with, so don't sand. Ask a repairer for gouges or lifting edges.
Will walnut or a crayon hide scratches?
They can tint a light scratch, but they leave residue and don't protect the wood. A product made for furniture repair is more predictable; test either way.