In this article
Boots fit only if their full height, length and pair width fit inside the compartment's clear interior and through its opening, so ignore the advertised pair count. Measure each pair standing as you'll store it, ask the seller for clear interior and opening dimensions, and remember that removing an adjustable shelf to make a tall bay also takes away spaces for other shoes.
Measure the boots as you will store them
Start with the footwear most likely to be difficult: tall boots, bulky work boots or a pair with a broad sole. Stand the pair on a flat surface in its normal storage position. Include any boot supports you already use, and let pull tabs and shafts keep their natural shape. Measure the footwear itself; the shoe size printed inside is not an outside storage measurement.
| Record in inches | What to include |
|---|---|
| Heel-to-toe length | The farthest points of the sole, heel and toe in the chosen orientation |
| Width of the pair | Both boots together, including soles and shafts that spread wider above them |
| Total upright height | From the bottom of the sole to the highest shaft, tab or support |
| Individual boot width | Useful when a layout would put one boot in each opening |
| Storage accessories | The tray, liner or support that will share the compartment |
Write the measurements beside a photo of the pair. Repeat for the other footwear you want to store; measuring only a small sneaker can produce a convincing plan that fails when winter boots arrive. Avoid squeezing shafts or folding footwear just to match a number before checking its care instructions.
Ask for the clear interior and opening dimensions
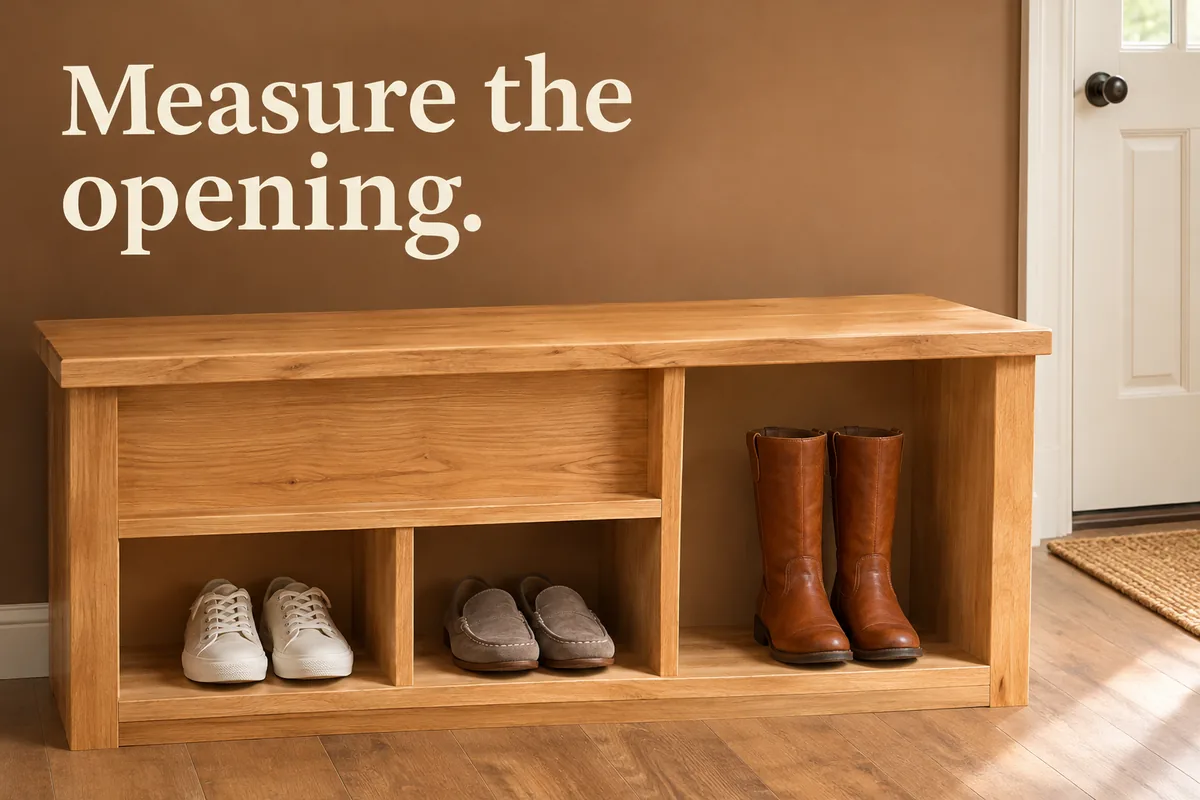
Bench depth includes its front, back and other construction. It does not tell you the usable shelf depth. A manufacturer's storage-bench specifications give one example with 14 inches overall depth and a claimed 12.2-inch interior depth for the selected two-door version. Those are different measurements, and neither establishes whether your boots fit.
Request the narrowest usable opening as well as the space behind it. A front rail, hinge, door stop or shelf support may intrude. For a closed unit, ask where the inside face of the door sits when shut. For a basket, use its interior measurements and account for the basket walls rather than treating the entire shelf as available.
Be specific when asking the seller: provide the exact style or model and ask for clear width, depth, height and opening size with the proposed shelf arrangement. Photos of a ruler can help establish what was measured. If those dimensions remain unavailable, treat fit as unresolved instead of estimating it from a lifestyle photograph.
Try a compartment mockup before ordering
Use the confirmed measurements to make a temporary cardboard outline or three-sided mockup on a stable surface. It is a storage-fit exercise only; do not use cardboard as a seat, support or replacement furniture panel. Add the front opening where it is smaller than the space behind it.
- Place the boots in their intended orientation without compressing them. Check the whole shaft as well as the sole; the widest or tallest point may be above the shelf.
- Move each boot through the opening as you would during daily use. Leave room for your hand to grip it instead of checking only whether it can be wedged inside.
- Represent the closed door with a flat piece of cardboard in its actual position. Check toes, heels, shafts and pull tabs against that plane without forcing anything shut.
- Try removing one boot while the other remains in place. Then repeat with any tray or liner you plan to use. A bare compartment trial does not include those accessories.
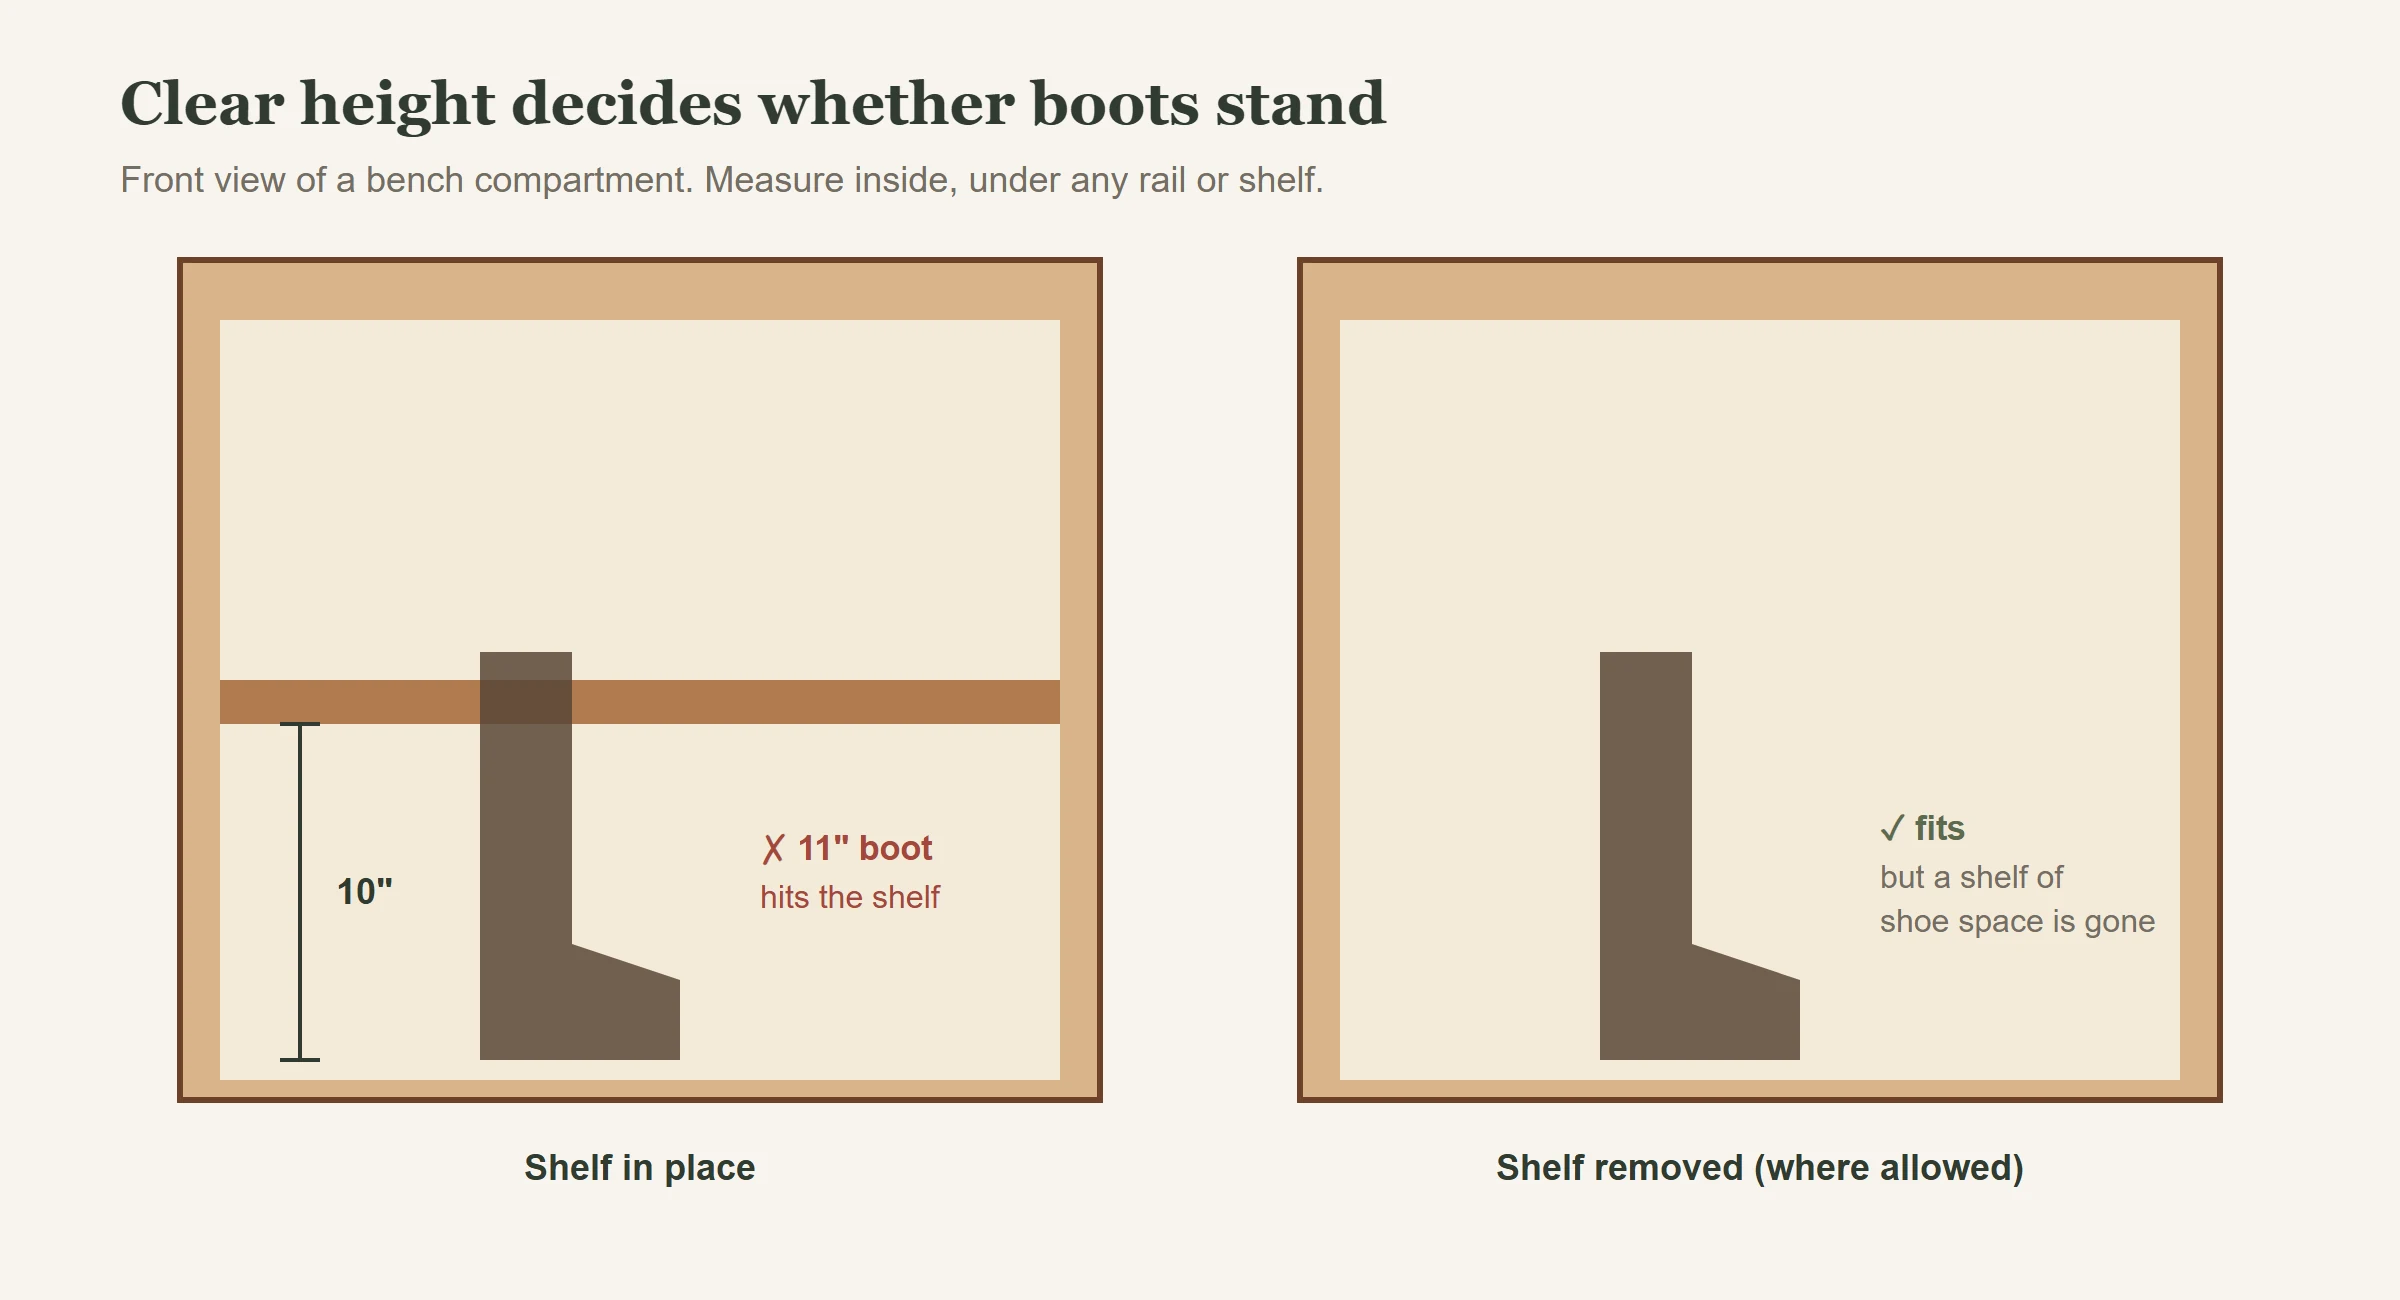
Example: an upright boot 11 inches tall won't stand in a compartment with 10 inches of clear height. Extra depth doesn't fix a height problem.
A cardboard mockup rules out layouts that won't work; the assembled bench is the final check. It can't tell you about strength, finish or ventilation.
Recount storage after making room for tall boots
One maker's listing describes two shelves behind doors that adjust to three heights and can be removed. That's a feature of that version, not something to assume for another bench.
Map the openings you will actually have after an approved adjustment. In a hypothetical layout, removing a shelf between two low openings creates one tall opening. If that opening stores one pair of boots, do not continue counting it as two separate shoe spaces.
Assign your real pairs to the proposed openings on paper. If a wide pair needs two individual cells, count both cells as occupied. If a tall boot bay also holds a bag, subtract that space. This gives you a household capacity estimate rather than repeating a general advertised pair count.
Make the storage plan work for the boots too
A leather-boot maker's care and storage guidance recommends room-temperature air drying, avoiding direct heat, and storage in a cool, dry, well-ventilated place. Those are the maker's directions for its footwear; check the guidance for your own leather, rubber or other materials.
Plan a place for wet boots before they enter the storage compartment. A closed shoe cabinet is not automatically a drying cabinet, and visible gaps do not establish a measured airflow rate. Do not use a heater or hair dryer to speed things up without explicit footwear instructions permitting that method.
If supports are part of your normal care routine, include them in the fit check. Avoid choosing a storage position that requires bending the shaft differently every day simply to close a door. Keep footwear-care products separate from furniture care, and follow the bench's own finish instructions for cleaning any drips or dirt.
If the bench is already yours, change the plan before the furniture
Measure the assembled unit and identify what stops the boots: height, usable depth, pair width, the opening or the closed door. Photograph that obstruction. Ask the maker whether an approved shelf position or removable insert changes it; do not cut a divider, discard a back panel or drill new shelf holes based on appearance.
You can keep the bench for low shoes and give tall boots a separate suitable spot. Another option is assigning individual boots to separate existing openings if their care and access still work. Recheck the pair count and the room needed to retrieve them before buying another organizer.
If the item was misdescribed, retain the listing, exact model details and your measurements when contacting the seller. Distinguish an incorrect dimension from a pair count that never described your particular footwear. That record makes the fit problem easier to explain.
Keep a small fit record for the next season
For the bench's position in the room, use the separate entryway bench layout guide. This guide answers what fits inside the storage; the layout guide checks the door, walking route and shoe-changing space around it. Recheck both when a new pair of boots or a seasonal change alters the routine.
Ask the seller for
- Clear interior width, depth and height of each opening
- The narrowest point of the opening (rails, hinges, door stops)
- Whether shelves adjust or come out, and the resulting heights
- Ventilation or drainage details for closed compartments
- The exact model or version the numbers apply to
Common questions
How tall should a shoe bench compartment be for boots?
Taller than your tallest boot standing upright, measured as clear interior height. Ankle boots, work boots and tall boots vary widely, so measure your own pairs.
Can I store wet boots in a shoe bench?
Better not. A boot maker recommends air drying at room temperature away from direct heat before storage. Use a tray by the door first.
What if my boots are too tall for the bench I have?
Check whether the maker allows removing a shelf, keep the bench for low shoes, or give tall boots their own tray or rack nearby.